If you’ve been reading about vibe coding and feel like everyone else already knows exactly what to install, you’re not alone. Too many guides jump straight into prompts without giving you a clear prep list, and that leads to broken setups, missing dependencies, and half your codebase vanishing before your first coffee. I’ve felt that same frustration — as a late-30s PM easing into coding after a long break, I just wanted a concrete order of operations before I opened any editor. This article covers what to install, in what sequence, which AI tool to pick up first, and the pre-flight checklist you’ll wish you had on day one.
At a Glance: The Real Prerequisites for Vibe Coding
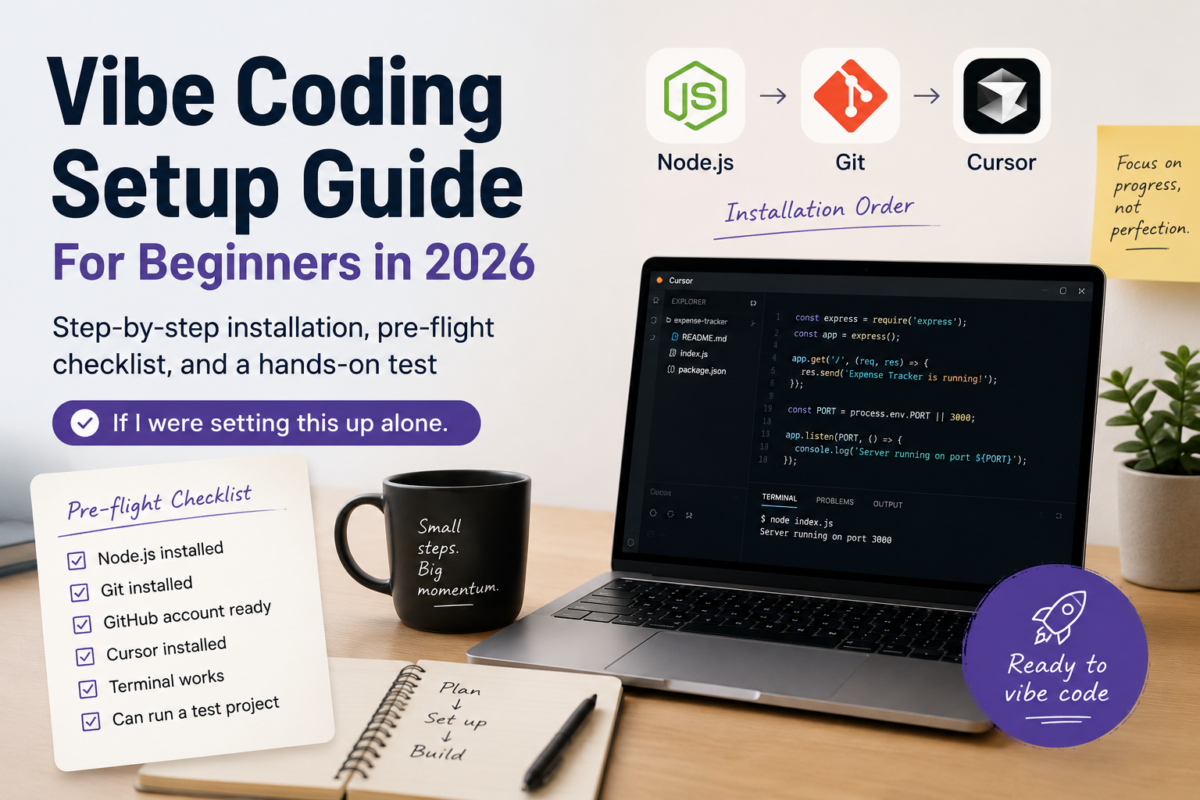
The core setup is smaller than you might expect: a Node.js runtime, Git for version control, and Cursor (or VS Code with an AI extension) as the editor. You don’t need Python, Docker, or a complex local server to start generating simple apps. The order matters because tools like npm rely on Node.js being installed first, and Git should be in place before you create your first project — otherwise, you risk losing work the moment an AI agent overwrites something. One hidden trap many beginners hit is skipping Git or using it only after they’ve built something; if you’re a solo business owner or freelancer, treat Git as your free undo button and set it up before you write a single line of code.
|
💡 Non-negotiable |
Why 2026 Is the Year to Start (But Only with a Solid Foundation)
In 2026, vibe coding tools have matured enough that a solo founder can generate a functional full-stack app with just natural language, as recent reviews of platforms like Base44 show. At the same time, more people are hitting frustration points not because the AI is bad, but because their local environment isn’t ready. The gap between “I asked ChatGPT to write a website” and “I have a running app on my machine” often comes down to missing a runtime or not understanding how to open a terminal in the right folder. This guide is about closing that gap before you ever type a prompt, so you can focus on iterating the product, not debugging gyp ERR! during an npm install.
The Installation Order That Prevents Most Beginner Errors
Start with Node.js, then Git, then Cursor. Node.js gives you the npm command that many JavaScript projects and AI-generated code rely on. Git lets you commit working states and roll back when the AI introduces bugs. Cursor (or VS Code with Copilot) provides the editor and AI chat interface where you’ll do the actual vibe coding. If you’re on Windows, also install Windows Terminal or PowerShell; on macOS or Linux, the built-in terminals are fine. After these three are done, open your terminal and verify each installation with the commands shown below — if you don’t see version numbers, revisit that step before moving on.
If I were setting this up alone for a freelance business, I’d also prepare a sandbox project right after completing the installations: create an empty folder, run npm init -y inside it, and initialize Git. That way, the first time I prompt an AI to build something, I’m inside a controlled, versioned workspace.
| Software | What It Does | Installation Order |
|---|---|---|
| Node.js (LTS version) | Provides the runtime and npm package manager that most AI-generated JavaScript code expects. | 1st |
| Git | Tracks every change so you can revert when an AI prompt goes wrong, and backs up your code to GitHub/GitLab. | 2nd |
| Cursor (or VS Code) | The editor where you’ll chat with the AI and preview your app, with built-in AI features. | 3rd |
Verification commands to run in your terminal after each install
node --version
npm --version
git --version
Hands-On: Build a Simple Landing Page to Test Your Setup
Before you tackle a client project or a full booking system, validate the whole environment with a small, throwaway site — like a personal landing page for your freelance services. The steps below walk you through creating a basic HTML page with Cursor, using AI to generate the content. If anything breaks, you’ll catch it here instead of inside a deadline-sensitive project.
|
Example Steps |
- Create and open a project folder using Cursor: On your desktop, create a folder named test-landing-page. Right-click it and choose Open with Cursor (or Open Folder inside Cursor). This becomes your workspace root.
- Initialize npm and Git in the folder: Open the integrated terminal in Cursor (Ctrl+` or View → Terminal). Run npm init -y to create a package.json file, then git init to initialize version control. This prepares the folder for any future dependencies and tracking.
- Ask Cursor’s AI to generate a landing page: Open the AI chat sidebar (Cmd+L or Ctrl+L). Type: Generate an index.html and style.css for a solo IT consultant’s landing page with a headline, a brief about section, and a contact link placeholder. Use simple semantic HTML and clean CSS. Let the AI create the files in your test-landing-page folder.
- Preview locally and confirm it works: Install the Live Server extension in Cursor if it’s not already present, then right-click index.html and select Open with Live Server. Your default browser should show the page. If the page is blank or broken, check that the AI wrote the files in the correct folder and that any linked assets like style.css are in the right path.
- Commit the working version to Git: In the terminal, run git add . and then git commit -m 'initial landing page from AI'. If you haven’t already, create a private repository on GitHub (or GitLab) and push your local commits there. This step confirms your remote backup works before you proceed to more complex projects.
|
💡 Pro tip |
Adapting the Setup to Your Solo Business or Freelance Work
Once the basic environment works, what you do next depends on what you’re building. For a simple marketing site or documentation page, the Node.js + Git + Cursor stack is enough. If you aim to build a web app that stores data (a booking form, a client portal), you’ll also need to decide on a back-end approach — often a lightweight framework like Next.js or a platform like Supabase — but you can introduce those later, not before your first hello-world succeeds.
For a freelancer with limited time, I’d recommend keeping the first few projects strictly front-end (HTML/CSS/JavaScript) until the habit of using Git and prompting the AI feels natural. Adding a database or authentication in the same session as your first setup is a common source of overwhelm, and it’s rarely necessary for proving an idea.
Pre-Flight Checklist and Watch-Outs Before You Start
Even with the right software installed, skipping a few preparation steps can waste an afternoon. Run through this checklist every time you begin a new project or return to vibe coding after a break.
- Confirm node –version and git –version return numbers, not errors.
- Create a dedicated project folder and open it in Cursor (never work in Downloads or Desktop root).
- Run git init immediately inside the folder; if you’re starting from a template or AI-generated repo, clone it instead.
- Set up a remote repository (private is fine) and push an initial commit before generating code.
- Check which AI model your editor is using — Cursor defaults to a model that may need an API key or subscription. Keep an eye on usage costs.
- For any project that will store user data or use an external service, read the data handling section of that service’s docs before connecting it.
- Disable auto-updates or npm install commands that an AI agent may suggest without review; treat npm install as a manual step until you understand the dependencies.
|
💡 Risk to avoid |
Frequently Asked Questions
Do I need to know how to code before trying vibe coding?
No, but being able to read basic HTML or JavaScript enough to spot obvious errors (missing brackets, broken paths) helps. If you’re starting from zero, pair vibe coding with a quick reference like MDN Web Docs and treat the first projects as learning exercises, not production work.
Which AI tool should I use: Cursor, ChatGPT, or Claude?
For beginners, Cursor gives you the easiest starting point because it combines an editor with an AI chat that can see your entire project. ChatGPT or Claude work well if you prefer a separate chat window and already have a code editor set up. For a solo business owner, I’d start with Cursor to reduce the number of moving parts.
What if the AI writes code that doesn’t work or breaks everything?
That’s expected, and it’s exactly why you set up Git first. Use git checkout or git stash to revert to the last working state, then rephrase your prompt or break the task into smaller steps. Keeping changes small and committing often makes recovery painless.
Can I skip Node.js if I only want to build static HTML pages?
You can technically skip it for pure HTML/CSS/JS, but installing Node.js early prevents surprises when the AI generates code that references a local development server or npm package. It’s a 10-minute install that keeps your options open.
How do I know if my environment is ready before I start a real client project?
Use a 15-minute test: create a new folder, open it in your editor, initialize Git, and ask the AI to generate a to-do app or a contact form. If you can preview it locally and commit to Git without errors, your environment is ready.
References and News Context
Wrap-Up
Spending an hour on environment setup before you write a single AI prompt avoids the worst part of vibe coding: the moment you realize you just lost two days of work because you didn’t have version control. Once Node.js, Git, and Cursor are humming, pick the smallest useful project you would otherwise pay someone else to build — maybe a service page that ranks locally, or a private client intake form — and let the AI suggest a structure. Commit early, deploy to a preview whenever you can, and adjust your prompting style based on the mistakes you encounter. The preparation checklist in this guide doesn’t change much from project to project; what changes is your confidence that you can always get back to a working version.